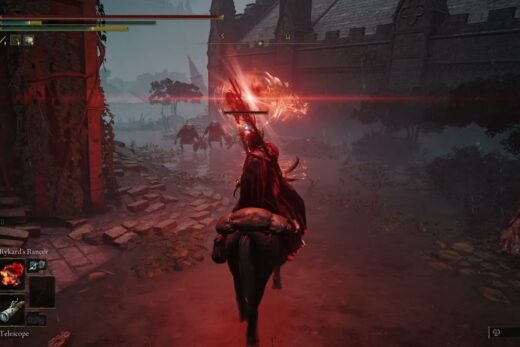
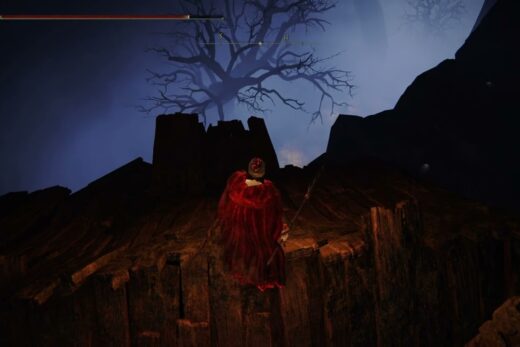
If I don’t have a shield in my hand, I always have great respect for knights with two-handed weapons or a shield. As a necromancer, you should avoid close combat, but I sometimes get a bit pressured when I’m stuck somewhere or something unexpected happens and a big knight with a big sword is standing right in front of me. To that end, I want to do some fighting, just with the spear. I have chosen the Warmaster’s Shack armourer for this purpose. I know he has better armour, his sword does more damage, he is stronger, buffed and I am only wearing paper armour and can just about move the spear. But it’s good to know your enemy.
Actually I didn’t want to kill Bernahl, but I think it was enough training and he didn’t let up.
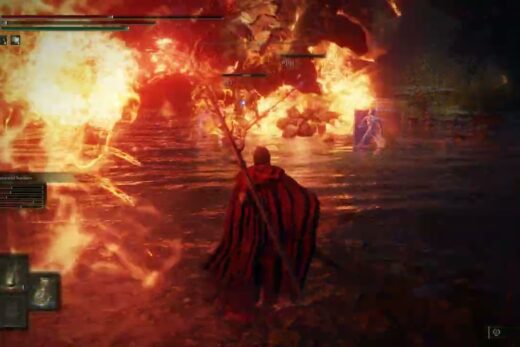
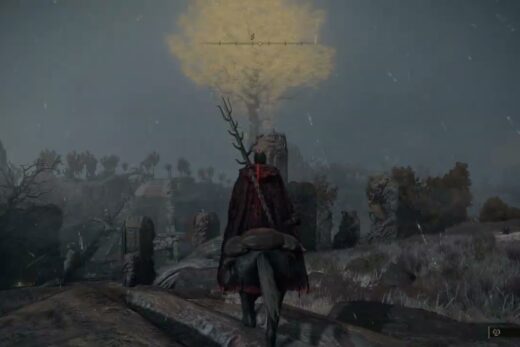
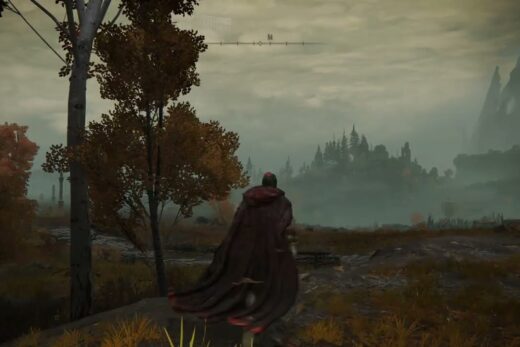
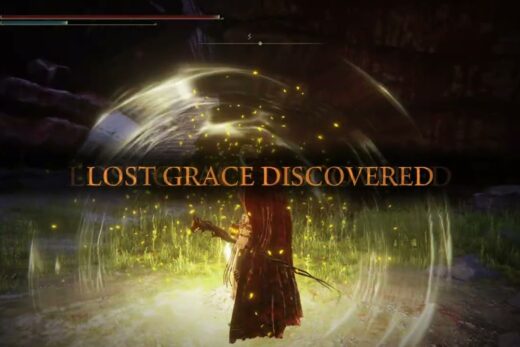
Then it’s off to Caelid, a long way if you don’t have the Shards of Grace at your disposal yet.
Again, there are no real problems and I discovered a spot in Caelid that I had only touched on at the very beginning of the first playthrough. I got a new war ash and a self-buff (Flame give me Strength).
Even on the fifth playthrough, you still haven’t seen everything.
Index:
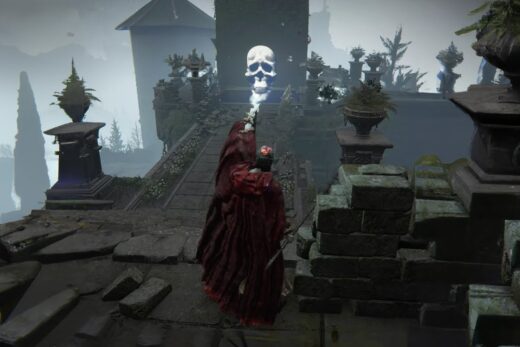
00:00 – Start Academy of Raya Lucaria
11:44 – Get The Second Key for the Academy
12:48 – Give Second Key to Thops
14:06 – Looting The Remains of Thops
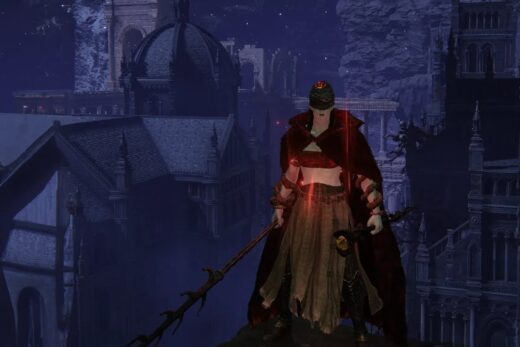
26:51 – Start Training at Warmaster’s Shack
1:13:08 – End of Training, Looting Bernahl
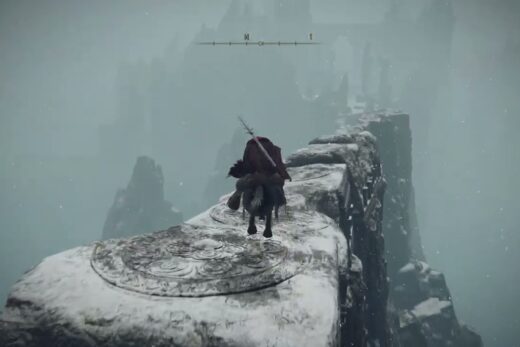
1:18:25 – Start Voyage to Caelid
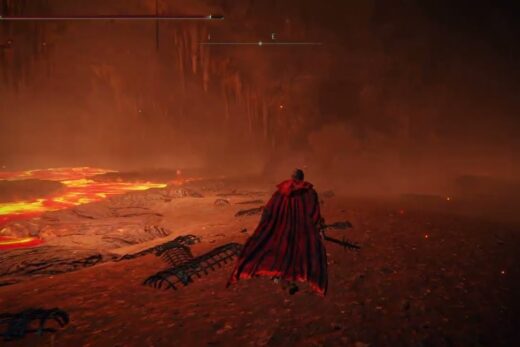
1:27:43 – Welcome to Caelid
1:31:03 – Killing Minor Earthtree
1:42:19 – Get Sword of St. Trina
1:58:24 – Get Incantation “Flame, Grant Me Strength”
2:01:58 – Get Ash Lions Claw
2:06:12 – The Climb to Redmane Castle
2:15:05 – Enter Redmane Castle
2:26:30 – Killing Misbegotten Warrior & Crucible Knight